How to Create a Cinematic Photo in Lightroom
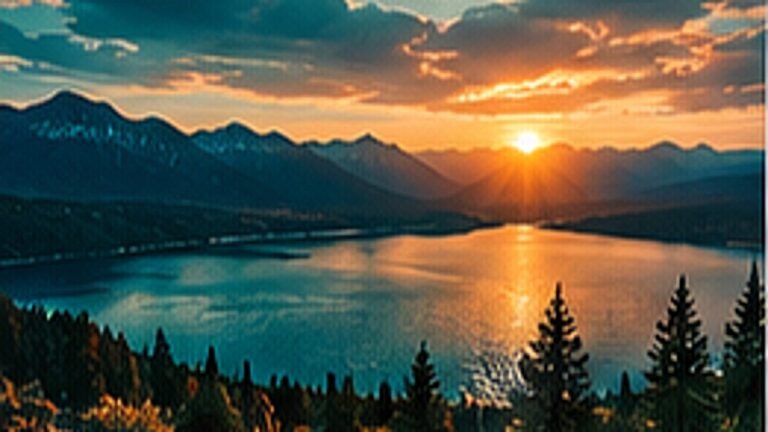
Split toning, curves and a little grain, the recipe behind the teal-and-orange look.
A DNG preset is a small photo file that carries edit settings inside it. When you copy those settings in Lightroom and paste them onto your own photo, you get the same grade. That is why the download looks like an image rather than a preset file, and nothing is wrong.
Tip. If your gallery shows the DNG as a grey or blank thumbnail, it still works. Lightroom reads the data, not the preview.
Tap the download button on any preset page. On Android the file lands in Downloads; on iPhone choose Save to Files or Save Image. Keep the files in one folder so you can re-import later.
Open Lightroom Mobile, tap the add-photos icon, choose the folder or gallery, and select the DNG. It appears as a normal photo in your library, already carrying the edit.
Open the DNG, tap the three dots in the top right, and choose Copy Settings. Leave the defaults checked, but uncheck Tools and Geometry so the preset does not apply someone else crop to your photo.
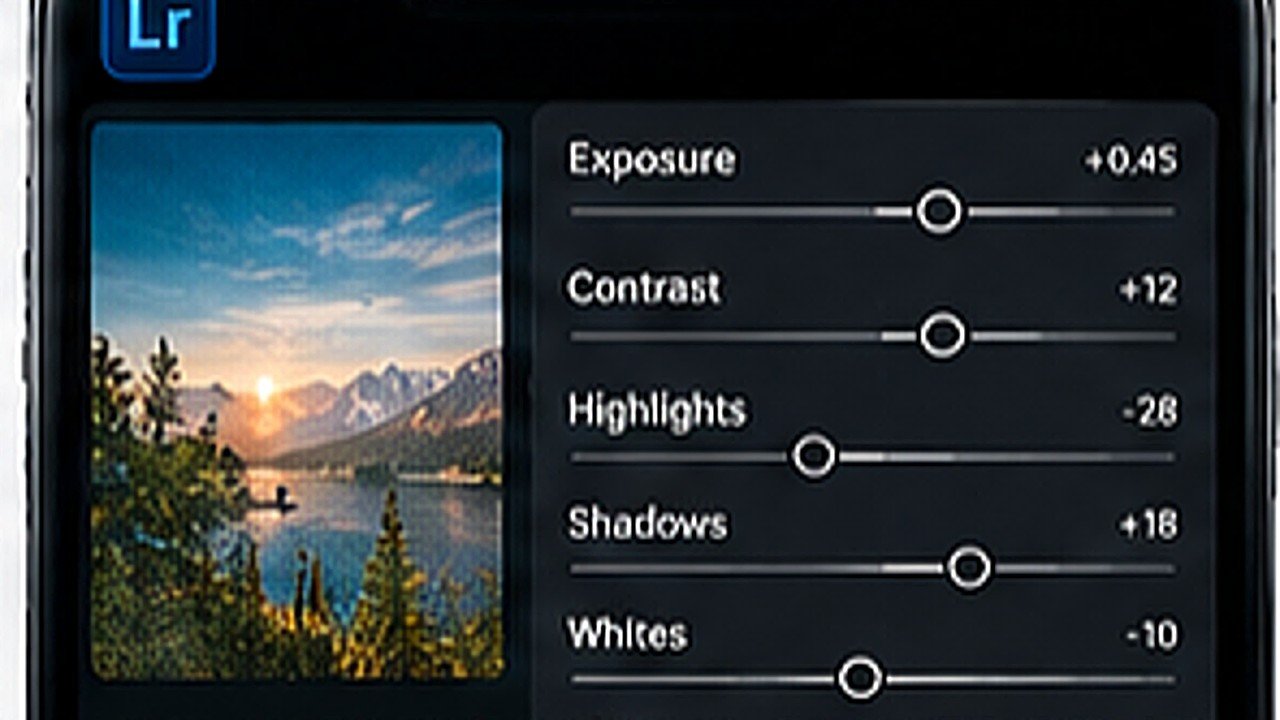
Go back, open your own photo, tap the three dots again and choose Paste Settings. The grade applies instantly. Then adjust exposure and white balance, because every camera meters differently and a small correction is normal.
Tip. Pasting is not the end. Exposure plus or minus 0.5 and temperature plus or minus 200K usually finishes the edit.
With the edit applied, open the Presets panel, tap the three dots and choose Create Preset. Name it and pick a group like Aarya Editz. From now on it is one tap, no copying needed.
Split toning, curves and a little grain, the recipe behind the teal-and-orange look.
Clean cutouts around hair and edges, using the free tools only.
A repeatable five-step routine that keeps a feed looking like one person made it.