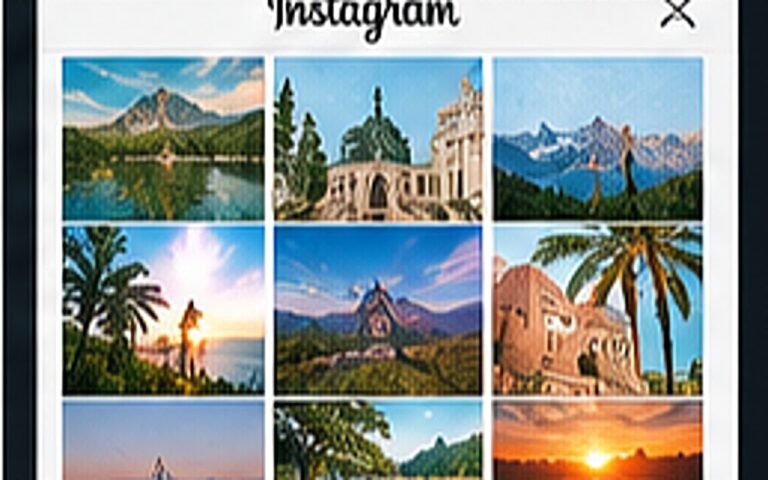
How to Keep an Instagram Feed Visually Consistent
Pick two light conditions, one grade and one crop rule. That is most of it.
Every creator hits this question in their first month of editing: is a paid preset pack better than the free DNG file someone shared on Telegram? After building and testing hundreds of both, the honest answer is that price tells you almost nothing about quality, but it does tell you something about packaging.
A paid pack usually sells three things: variety (20 to 40 looks instead of one), organisation (named groups inside Lightroom), and support (install help, updates, sometimes a video). None of those are the grade itself. The colour science in a good free preset and a good paid preset is identical work: a curve, a colour mix, a split tone.
Quality shows up in what a preset leaves alone. Amateur presets crank global saturation, clarity and contrast, which destroys skin tones and clips highlights the moment your photo differs from the demo image. Well-built presets do their work in the tone curve and colour mix, and leave crop, geometry and sharpening untouched.
Tip. Test any new preset on five very different photos before you trust it. One flattering demo means nothing.
Buy a pack when you shoot one thing repeatedly and need consistency across dozens of images: weddings, product catalogues, real estate. The time saved on a single job covers the cost. Buy from a creator whose own photos look like what you shoot, and check they show unedited originals, not just the finished frames.
Start with three or four free presets in different moods, learn what each one changes by opening the edit panel after applying it, then build your own from the version you keep tweaking. That last step is the real goal: a preset you made from your own photos will always beat a bought one.
DNG presets are ordinary image files, so they cannot carry software. The risk is the site, not the file. Download from pages that do not force you through link shorteners or ask you to install an app.
Yes. Importing a DNG and copying its settings works in the free version of Lightroom Mobile. Some individual sliders, such as selective masking, need the paid plan.
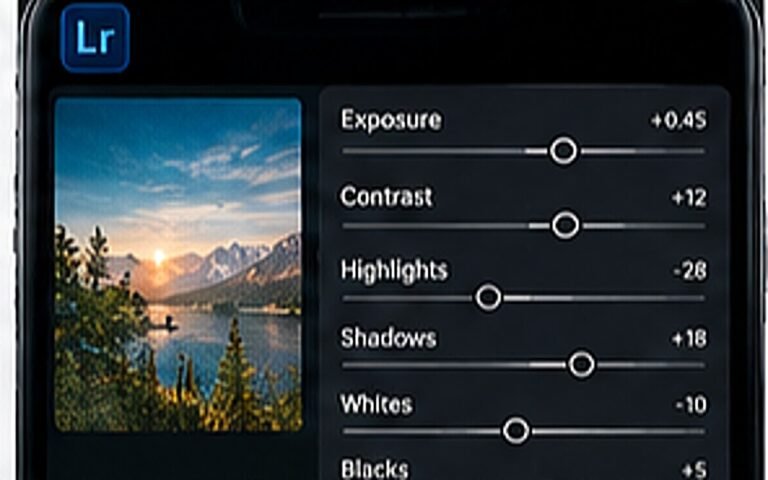
Presets apply fixed values to a variable starting point. Your lighting, camera and exposure differ from the demo photo, so expect to adjust exposure by about 0.5 and white balance by 200K after applying.
Pick two light conditions, one grade and one crop rule. That is most of it.
One is a colour tool, the other is a composition tool. Using both is the point.
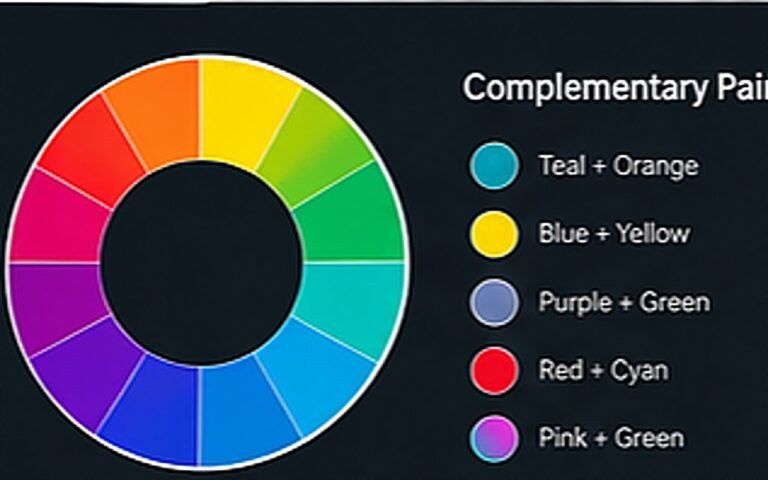
Why teal and orange works, and three other pairs that do the same job differently.